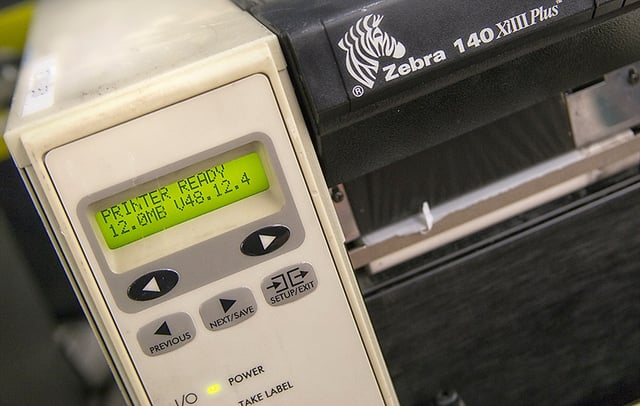
 Recently our Engineering Department completed a new project. They repaired a Zebra 140 XiIII Plus printer from a non-functioning state to fully operational by utilizing existing parts and in-house materials. Not only has this given us some functionality for labeling our own inventory and repair bins, but it has also given us additional repair skills so we can help our clients repair their printers.
Internally we use the Zebra printer to create barcodes which help us accurately track and manage our repairs and inventory bins through our operating system. In working through repairing this machine, our engineering department was able to address three areas that have been helpful in operating this printer: changing the printer ribbon, changing the print head and printing using an existing template.
Changing the printer ribbon:

- To change the ribbon, first open up the printer. Then slide out and flip down the Media Supply Guide.
- Place the roll of media on the media supply hanger and push the roll back as far as it can go.
- Flip up and and slide in the Media Supply guide until it touches the end of the roll.
- Loosen the thumb screw located on the bottom of the Outer Media Guide and slide it all the way out.
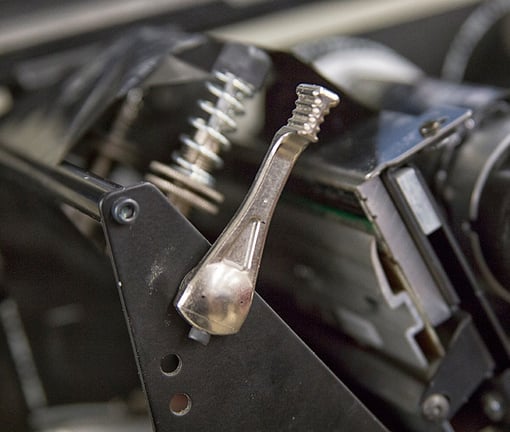
- Open the print head assembly by rotating the Print Head Open Lever counter-clockwise. Thread the media under the Media Guide Roller and push the media forward until it passes under the print head assembly under the Snap Plate and then over the Platen Roller.
- Align the media with the inner media guide and slide the Outer Media Guide until it just touches the edge of the media and tighten the thumb screw.
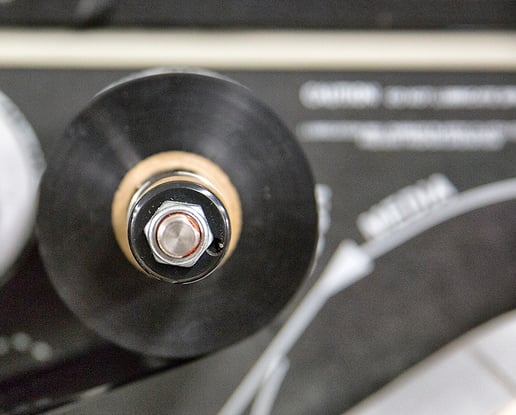
- Align segments of the Ribbon Supply Spindle.
- Place the roll of ribbon on the ribbon supply spindle with the loose end unrolling clockwise. Push the roll back as far as it will go.
- Tear off a strip of label and backing from the label roll about 6 inches and peel a label from the backing.
- Overlap the ribbon and backing with the ribbon on top and use a label to tape the two together, this serves as the ribbon leader.
- Thread the ribbon leader and attached ribbon under the Ribbon Guide Roller through the print mechanism and pass the Platen Roller.
- Bring the ribbon leader over the upper ribbon roller and then toward the Ribbon Take-Up Spindle.
- Wind the ribbon leader and attach the ribbon counter-clockwise around the Ribbon Take-Up Spindle.
- Rotate the spindle counter-clockwise several turns to wind the ribbon and remove any slack. Lastly, release the pause button to allow the printer to calibrate.

Changing A Print Head:
- To change a print head use a flathead screw driver.
- Start by removing the ribbons and labels and use the flathead screw driver to loosen the print head mounting screw.
- The print head is now free from the print head assembly and you can open the print head to expose the Power and Data cable connections.
- Unplug the Power and Data cable.
- To reinstall the print head, reattach the Power and Data cables and fit the print head into the print head assembly.
- Marry the print head to the print head assembly making sure to align the print head alignment posts to the print head alignment slots.
- Then tighten the print head mounting screw but do not over tighten.
Printing Labels:
This set of steps is based on how we utilize the printer here at Radwell.
- Ensure that the labels and ribbon are correctly installed in the printer and that the printer is connected to your computer and to power.
- Switch on the printer.
- Launch the ZebraDesigner Pro software or its demo.
- After the
 program has launched select “ToteBinLabelSet.lbl” from the options presented. If this template is not shown in the recently used area, click “Open other existing label” and locate the template file.It’s important to note that templates can be crea
ted to fit various frequently used label applications that meet your individual needs. - Once the correct template has been selected, click “Finish.”
- The label template will load and then you would select the “Printer Settings” drop-down option. The “Speed” and “Darkness” parameters may need to be adjusted to “2” and “8” respectively. These settings were found to work reliably while different settings may cause the bar codes to be unreadable.
- Click the “Print” button and enter the four-digit bin code and once again click “Print.”
- If the demo version of the software is being used, an additional window may appear, click “Continue.”
- If the printer is set up properly, the label should now print out.
- It can then be torn off the roll so that the individual labels can be cut out and applied to the bin. Test the labels with a handheld bar code reader to ensure functionality.
By working through the basic operations of this printer, our engineering department now has additional skills and repair capabilities to help keep your Zebra printer up and running.
For more information about our Zebra 140 XiIII Plus printer repair capabilties, please visit Zebra Printer Repairs Information
For more information about Radwell International, visit us on the web at Radwell.com or connect with us on social media.
